
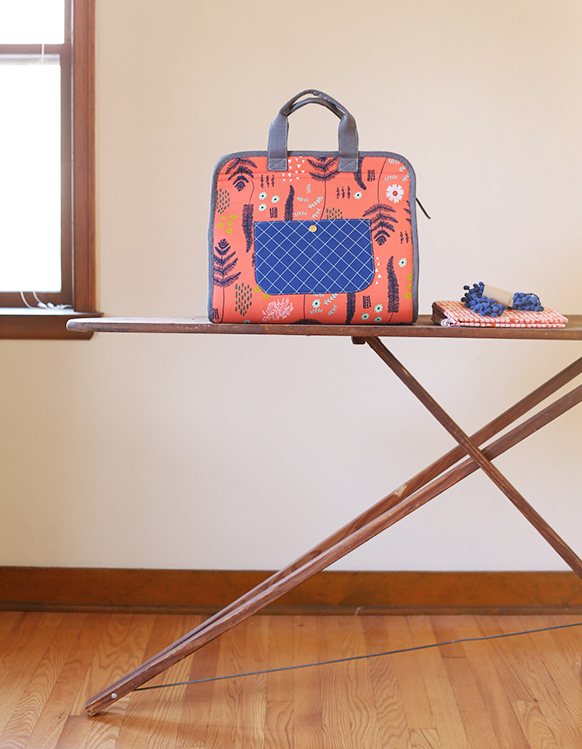
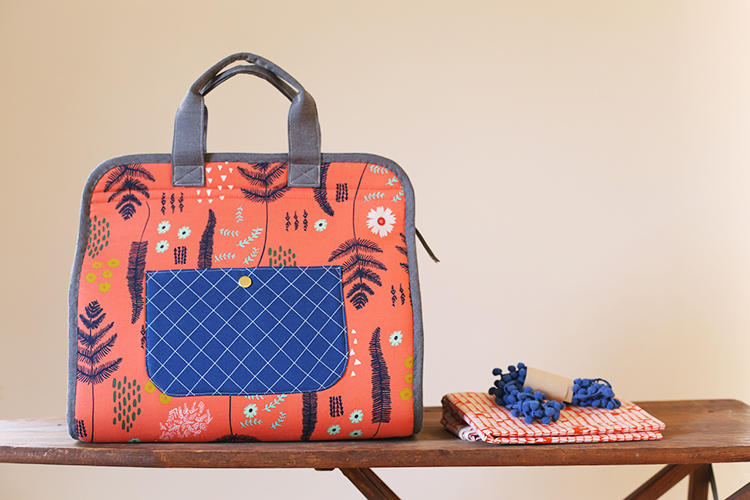
I’m so excited for this finish! This is the large size of my newest pattern, the Maker’s Tote. It’s such an amazing shade of orangey/fiery/coral-red. Perfect! This is one of my favorite prints from Alexia’s Mesa collection for Cotton + Steel.
I’m super pumped about having this completed tote because it started out as one of my prototypes. I thought I had everything all set, so I cut into this favorite fabric combo, and sure enough it wasn’t quite right and there were still adjustments I needed to make before it would become the pattern. So the other day I got to deconstructing it and rebuilding the tote. I love that it’s now a useable tote, rescued from my ‘this isn’t working’ pile.
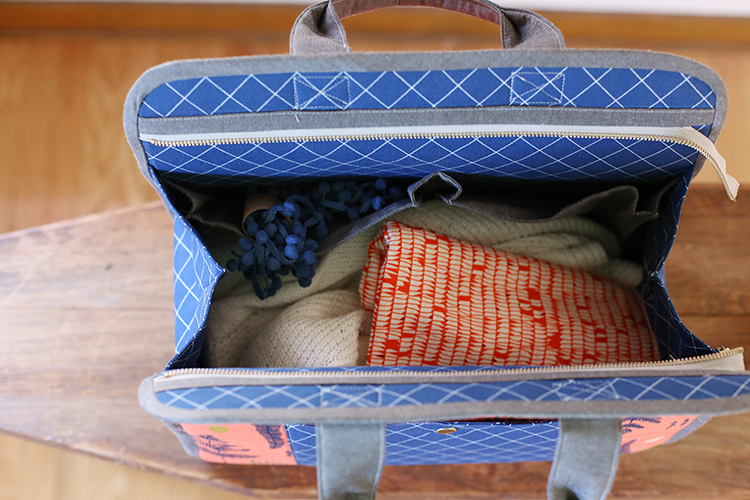
Each pocket is so fun to make and sewing a tote like this is a fun adventure to see come together. Each step is something new and fun. And it was also nice to sit down for a few minutes and listen to a podcast and stitch down the binding. I really love the clean look of it’s finish.

So far I think I might be giving this as a gift. I didn’t have anyone specific in mind though which, for me, is the most fun part of gift making. And Christmas is right around the corner!
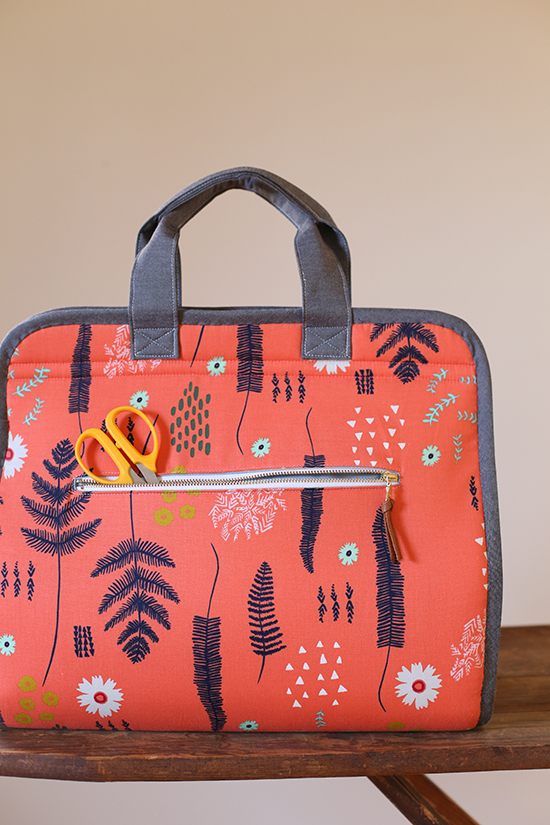
Pattern: Maker’s Tote (large) watch my video with tips here
Fabrics: Alexia Abegg’s Mesa, Carolyn Friedlander’s Doe, Interweave Chambray in Black
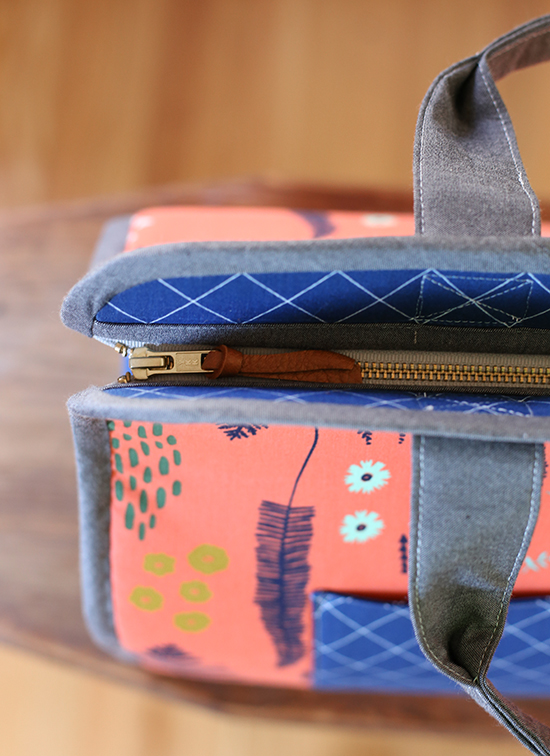
Zippers: Zipit and Wawak.com
(specific resources and links are included in the pattern)
And I forgot to announce the winner of the giveaway of Lotta Jansdotter goodies! The winner is Sara C., I’ve sent you an email!

I love your bag. Can you tell me what type of snaps did you use? Happy holidays.
Oh, I’d be so tempted to keep it all to myself! The colors you chose are just perfect. Merry Christmas to you and your family, Anna! Enjoy some downtime 🙂
So gorgeous! Thanks for sharing a almost didn’t get finished project. I have a pile that I need to work on. Starting with last years Christmas dresses!
This is SO good! I’ve got to make one of these ASAP.
Oh, I resisted for about an hour and then had to buy this darling pattern ~ really love the small one and looking forward to making it! You make the best patterns!
It’s so pretty! I can’t wait to make one after Christmas 🙂
Oh it’s just gorgeous! What fun to be on your Christmas list!!
What an amazing finish! I love that you rescued it from the pile.
Absolutely lovely Anna! ?❤️
Its so beautyful maded 🙂
Love it, the form, colours and all 🙂
Merry Christmas time.
VERY nice!
I’m going to sew mine, for me-myself-and I, after the holidays are over. A nice bit of no-deadline sewing just for me is in order!
Okay, and also I still haven’t decided which I want to sew first: one all in leather or one in a combination of felted wool and leather.
The details really do add a lot of polish to this bag. It would make an amazing gift.
Oh that fabric combo! It just goes so well together! Nice work lady!
I sewed two of your pattern as Christmas presents. Learned so much and enjoyed your wonderful work! Thank you so much! I hope you had relaxed and happy Christmas days :-*
Need some help. I’m making the larger size. MY first mistake is that I decided to quilt the exterior AFTER I cut the fabric. I know better and should have cut the fabric/Soft and Stable a little larger, quilted it and then cut it down. That said, the exterior piece ended up 32 1/4″ instead of 33″. Figured I could make it work given the 1/2″ seams. So… I’m at the point of putting in the gussets. Whatever I do, the distance between the edge of the gusset and the top of the main/lining is 3″ (give or take a 1/4″) instead of 4″. So, my question is… any suggestion on how I should adjust the zipper insert in Step 6? The instructions say 2″. Maybe 1 1/2″? Just don’t know how it will work.
Thanks for your comment. 🙂 I think you should be okay with inserting the zipper at the same height. There is a bit of breathing room from the gusset height and the zipper install height. You might just need to be extra cautious and move/pin the gusset away from the seam when you’re inserting the zipper. Hope that helps!
Thank you so much!