
I’m very happy to introduce my newest pattern today, the Explorer Tote! I’ve been working on this pattern on and off since the end of 2015, whew that’s a long time, and I’m glad it’s finally ready to share. A couple quick notes about the Explorer Tote pattern:
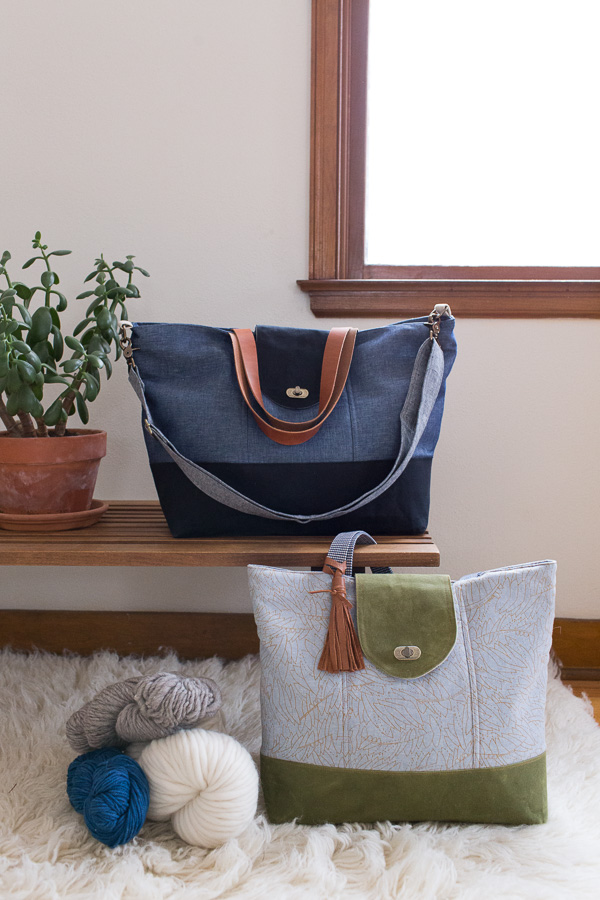
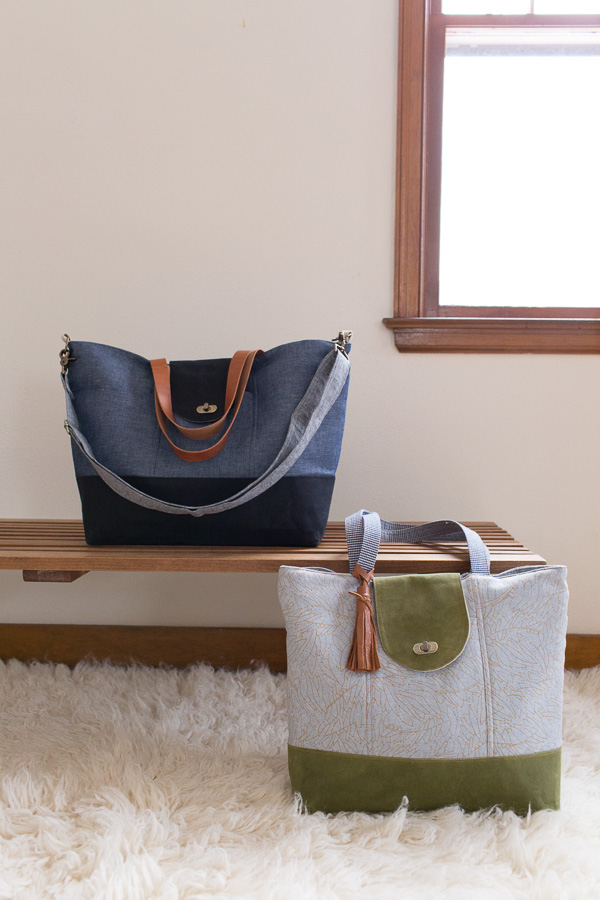
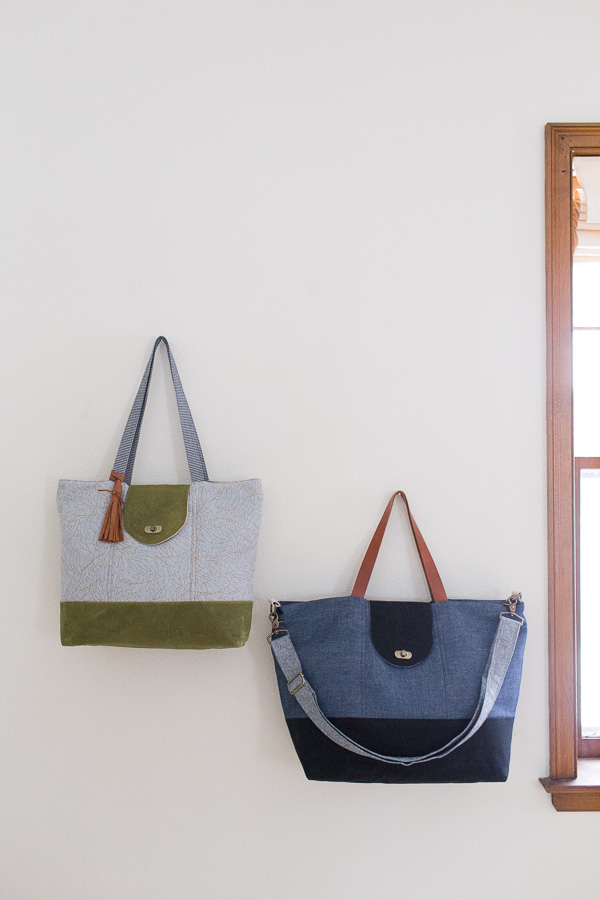
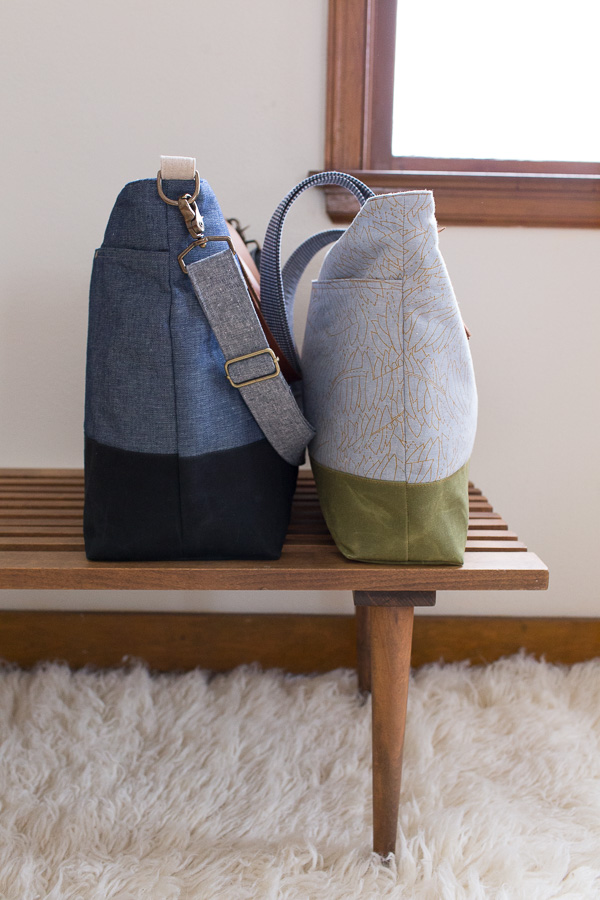
- two sizes to sew! The large size is great for traveling and overnight trips and the small is ideal for an everyday bag
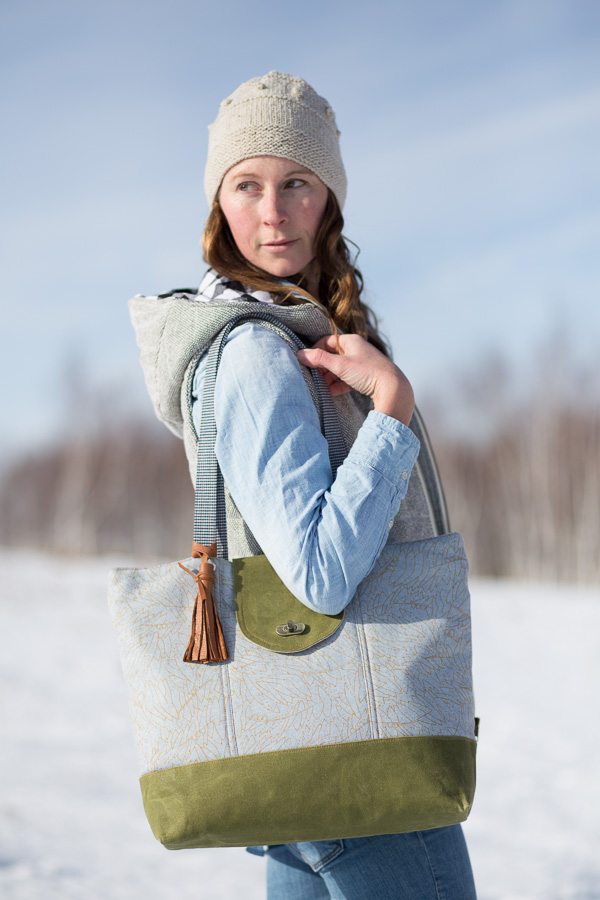
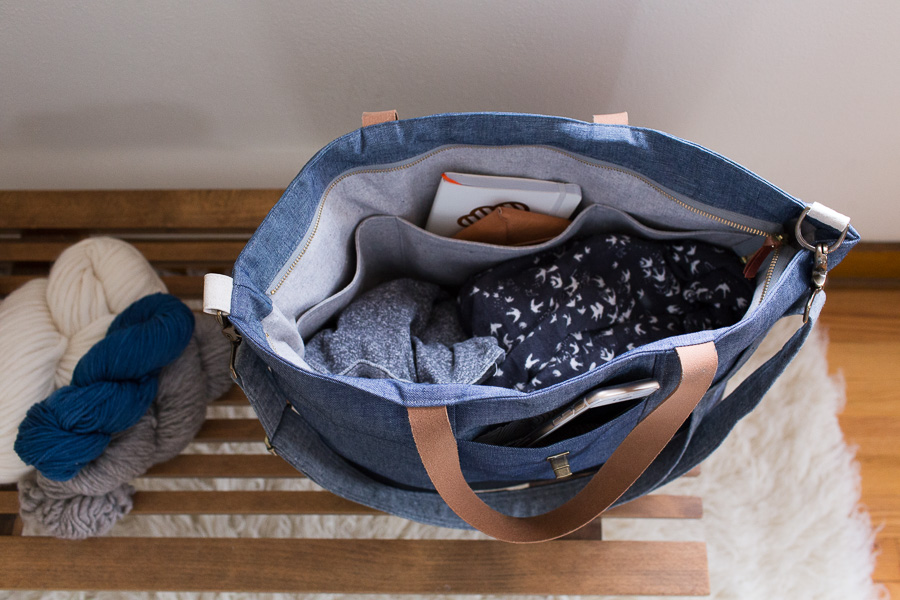
- one front pocket (covered by flap) and back exterior pocket divided into 3 sections (large) or 2 sections, large divided interior slip pocket
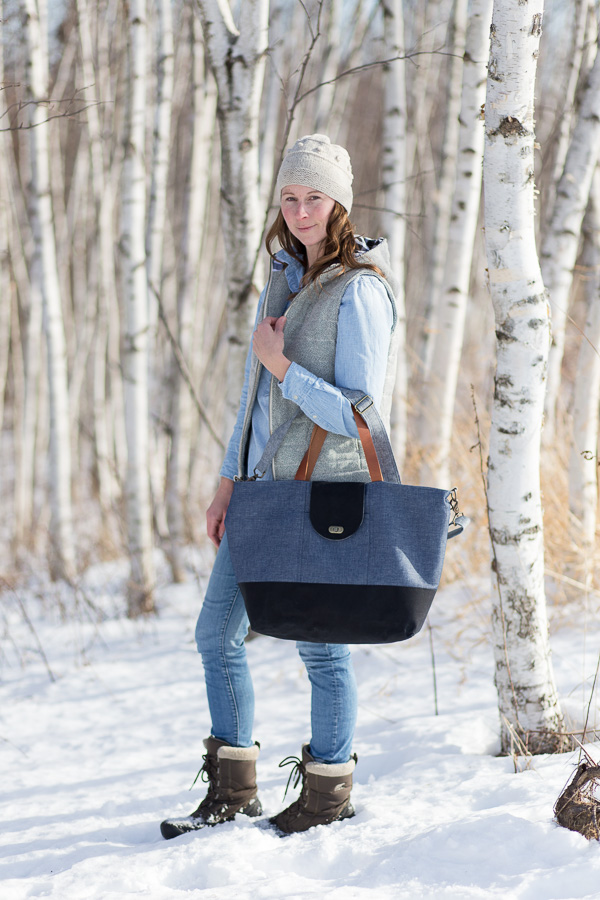
- open top or recessed zipper closure option, flap with closure provides extra security for both
Click here for more details and to purchase.

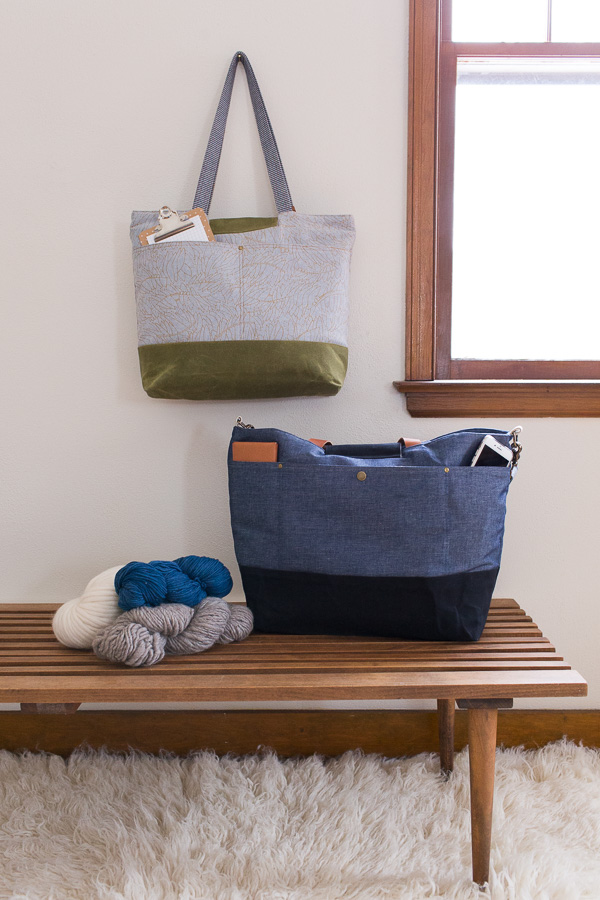
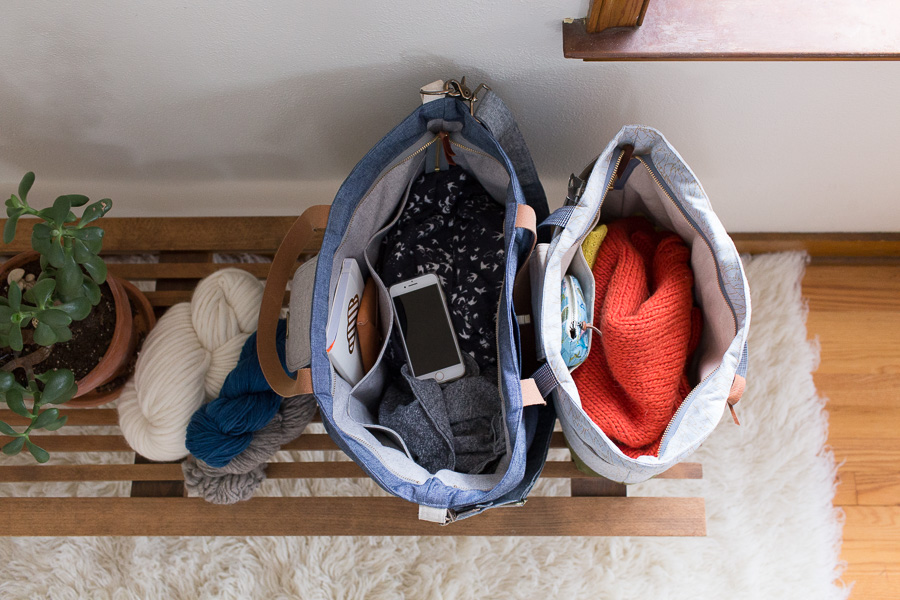
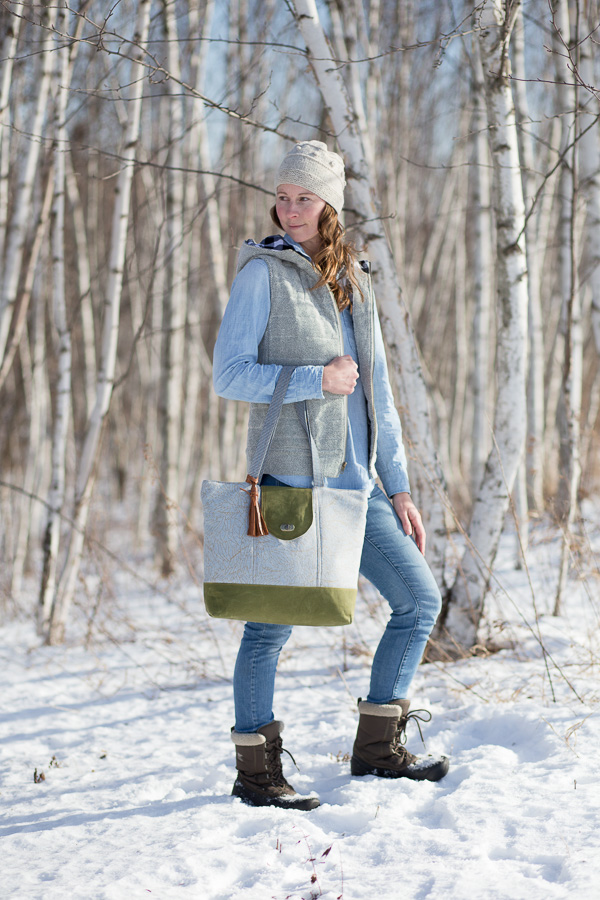
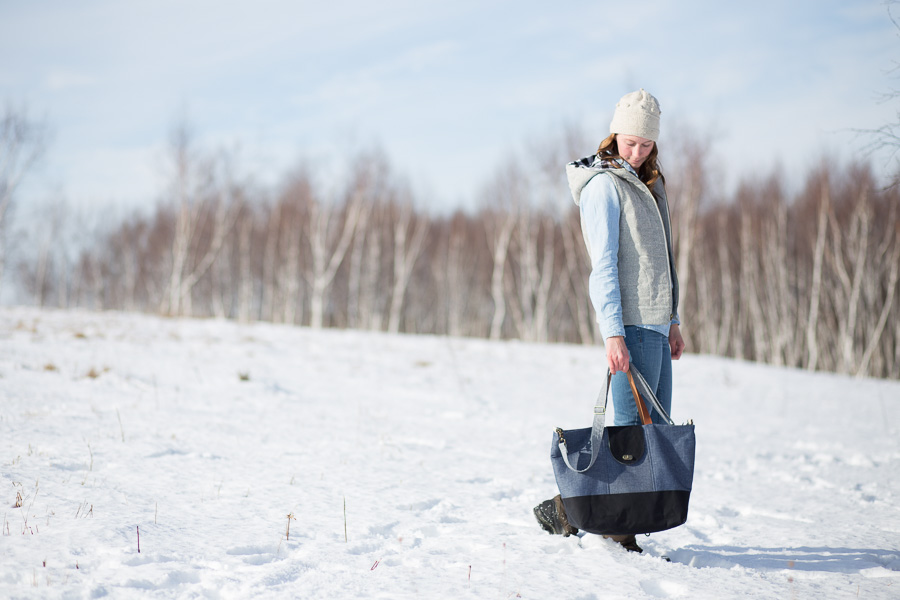
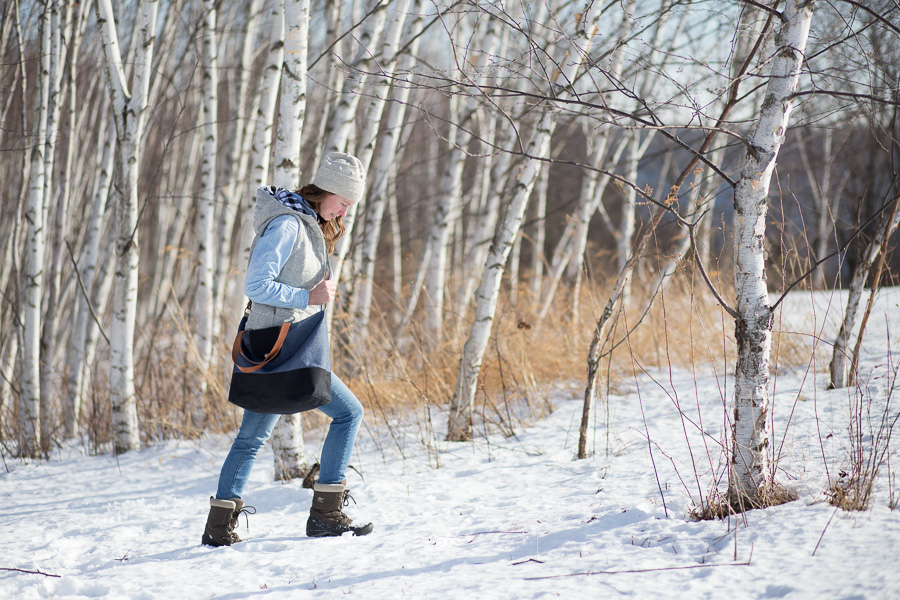
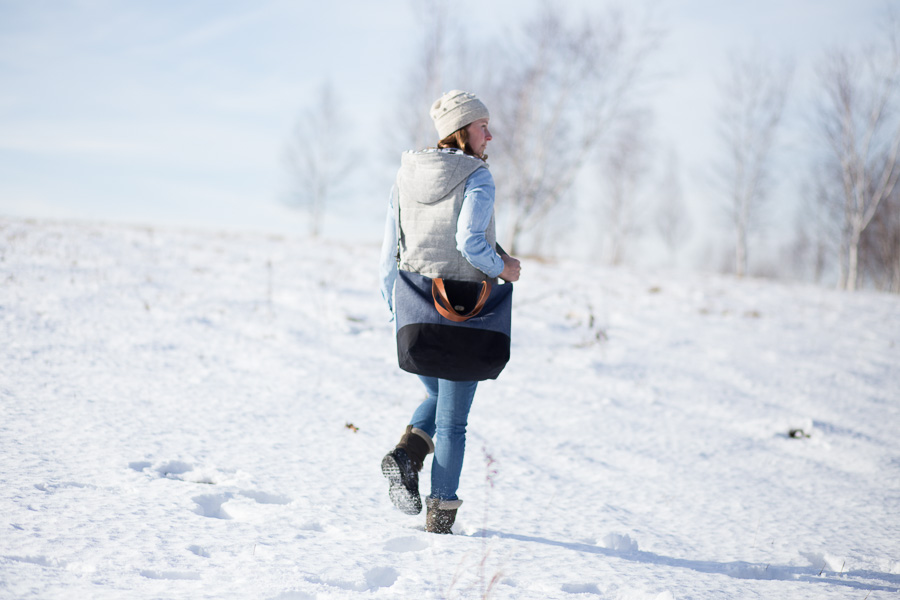
I felt really strongly about making this tote bag a highly functional and useful carry all. I went through so many different versions of this bag before ultimately deciding that these two sizes and styles were the most optimal for all uses. I do like the large size for use as an overnight bag or a carry-on or if you just like carrying a large bag, whereas the small size (which isn’t small necessarily) is a great everyday tote that will even fit a laptop in it’s case (and more!) – making it ideal for taking to school or the office.

The optional zippered top was a huge factor for me in this design – it was a must-have. I personally don’t prefer to carry bags with zip tops, but will make this an exception because this zipper when it’s not in use, is not in the way at all. So, when I use my Explorer tote for an everyday bag I can leave it open, but if I’m traveling I can zip it secure. Instructions are included if you’re not in need of a recessed zip as well!
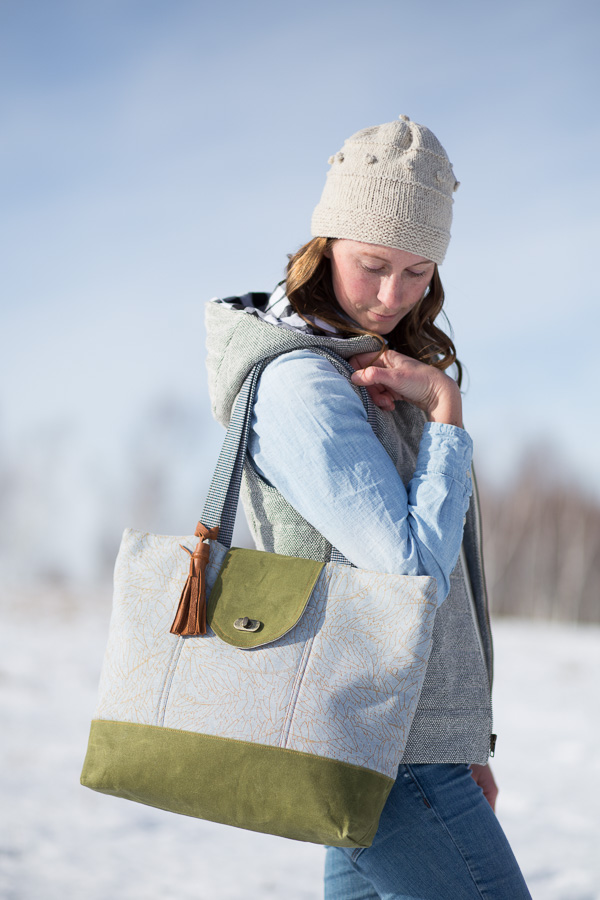
A special feature of this pattern is the waxed canvas. I can’t recommend it enough. Actually, it’s by far my most preferred fabric choice for the contrast bottom/flap portion of this bag and therefore the only fabric type I have listed in recommended fabrics section for the Contrast Bottom fabric requirement. If you’ve never worked with waxed canvas have no fear. It’s not as complicated as you might think. I’ve included a bunch of tips for using waxed canvas right within the pattern. Because the canvas is waxed it makes for such a durable bag. The wax makes the canvas stiff yet pliable as well as being a protectant from dirt and grime. In fact, you don’t even use interfacing with it (saving you both time and money), so if at first you’re thinking it’s a bit more costly than regular canvas, you might want to reconsider. However, if you’d prefer to use regular canvas, I’ve given specific instructions within the pattern for using that as well.
Here are some shops that I love and recommend that carry waxed canvas by the yard. I use mostly a 10-12 oz. weight from AL Frances Textiles.
Fancy Tiger Crafts
Drygoods Designs
Gather Here
AL Frances Textiles on Etsy
I hope you’ll take the time to try waxed canvas! If you have any questions about this tote please let me know in the comments. p.s. If you’re a shop owner that carries waxed canvas let me know, I’d love to add you to this list! I should also mention (and maybe I can put something together for a future post) that you can wax your own canvas, Otterwax is one brand I’ve seen people use.

Lastly, the turn lock on the flap is so handy! It’s easy to use (bonus!) and easy to install and looks great, too! I purchased the ones for my samples from Janelle over at Emmaline Bags (I now offer the same Turn Locks in my shop) although in the pattern I’ve linked to a few more sources as well. I really prefer the type that have the mini screws that secure the face plate of the turn lock. I hope you’ll give it a try if you’ve never used one before, they’re a lot like installing a magnetic snap! Click here for a video tutorial on how to install a Turn Lock!

Click here for more details and to purchase.
For the large sample shown I want to point out that I swapped out the fabric handles (as called for in the instructions/materials) for leather ones, it’s an easy swap, so if you feel that leather is right for your project – go for it.
Thanks so much for your support and enthusiasm! I cannot wait to see what you make! Tag your creations #explorertote on Instagram!
Wow! Such a beautiful yet practical bag!! I’m grateful for the two different size choices and the option with or without the zippers. Can’t wait to make this!!
Such gorgeous totes and pictures! Congratulations!
Gorgeous as always! I’m excited to try waxed canvas one day soon!
Such dreamy photos! And super cute bags too!
Love it — your bags are always a delight to make! 🙂
I love it. Without a doubt, it was worth the wait! 🙂
Wow I can’t wait to make this! It matches almost exactly an image I’ve had in my mind of a bag I want to make to bring to work everyday. I especially love that you included a recessed zipper! I take the subway everyday and having an open top bag just isn’t an option for me, yet so many tote patterns don’t include zippers.
I have a hide of pretty thin leather that I’m thinking about using for the contrast bottom – do you think that would work? I’m a little nervous as I’ve never actually sewed with leather before!
That’s awesome Renee! Glad you think it’ll work for you. 🙂 You definitely could try using the leather, maybe start with a smaller project, like a contrast bottom on a zippered pouch to get a good feel for how your machine and the leather work best.
Great idea 🙂
Love it! Just sent your post to my daughter. I promised her to make her a new bag after Christmas. I think this one is perfect!
Love the bags – the zippers, cross-body strap, all of it! I’ve tried the turn-lock on a wallet before, it was pretty simple to install. I’ve never sewn with waxed canvas before but would love to give it a go!
Looks awesome! Would it work to swap the fabric handles for leather on the smaller version, too?
Thanks Kate! Yep, for sure!
Love love love this pattern! I’m really interested to try waxed canvas. How does the size of the large bag compare to the size of your zip top tote?
Thank you! Yes, you definitely will like it! The large is bigger than the zip top tote from my book. 🙂
Already purchased and downloaded. This is exactly what I have been looking for to take to work. I especially love the crossover as I walk to and from the station.
Love your work….
Thanks so much! Oh yes, perfect for that! 🙂
Lovely bags! As a lover of cross body straps, I imagine that I could add the detachable strap to the “small” bag? Also, what are the weights of your sample bags? Thank you Anna!
Thanks Lodi! Yes, you certainly can do the crossbody for the small as well. 🙂 Weights? Do you mean the fabric weight?
I just think it looks perfect, nice job!
Carolina 😉
https://carolinascornerblog.wordpress.com
What a beautiful bag. I can’t wait to try this out. I have always wanted to use the waxed canvas but wasn’t sure what for. Problem solved.
Another gorgeous looking pattern… I especially like the large size, just the thing for an overnight bag with the handy zip. Gorgeous details as always!
Oh, I LOVE this!!! You have such great style sense! Will you offer this as a printed pattern soon or shall I just purchase now?
Thanks Monica! Yes, I will have a printed pattern, but probably not until closer to the end of February.
Anna, thank you so much for your amazing patterns! I’ve made 11 of your poolside totes for Christmas presents and 2 of the makers totes. They are incredible and I felt really proud of them. This new pattern is a perfect project for me because I was interested in sewng with waxed canvas, which I’ve never done. Can I use my regular sewing machine for the waxed canvas? Husqvarna 400. Thank you Anna ?
Oh that’s awesome Renee! So glad you had fun making them. 🙂 I use my regular machine to sew it, it’s more about using the right needle and thread, etc. than what type of machine you have. 🙂
Thank you, Anna! Any recommendations for needle and thread size?
Yep, I list those in the materials, but I recommend polyester thread and a denim/microtex needle (size 14 or 16).
Thanks Anna! ?