

Welcome to the last day of the Handmade Style tunic sew along! Today we’re left with finishing the hem. Pretty easy, right?!
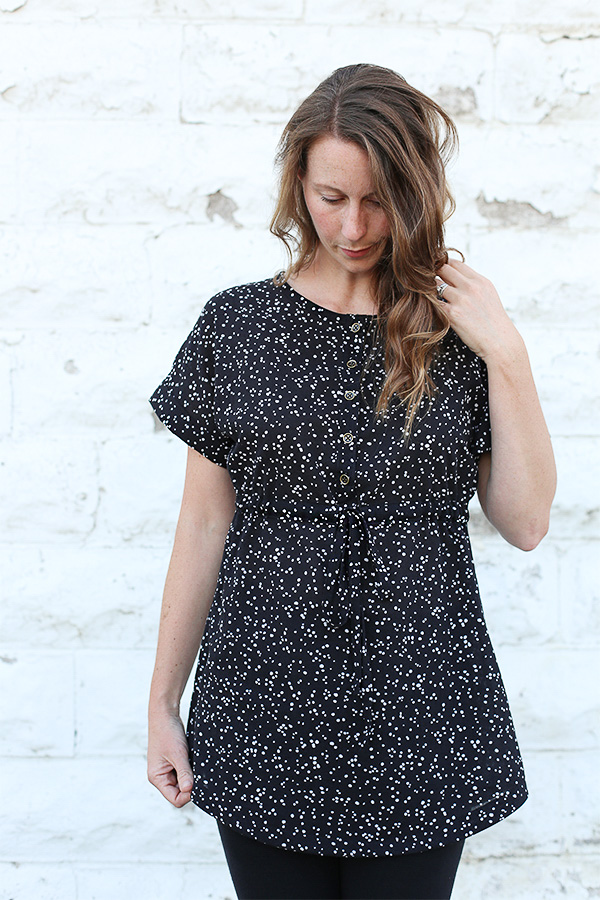
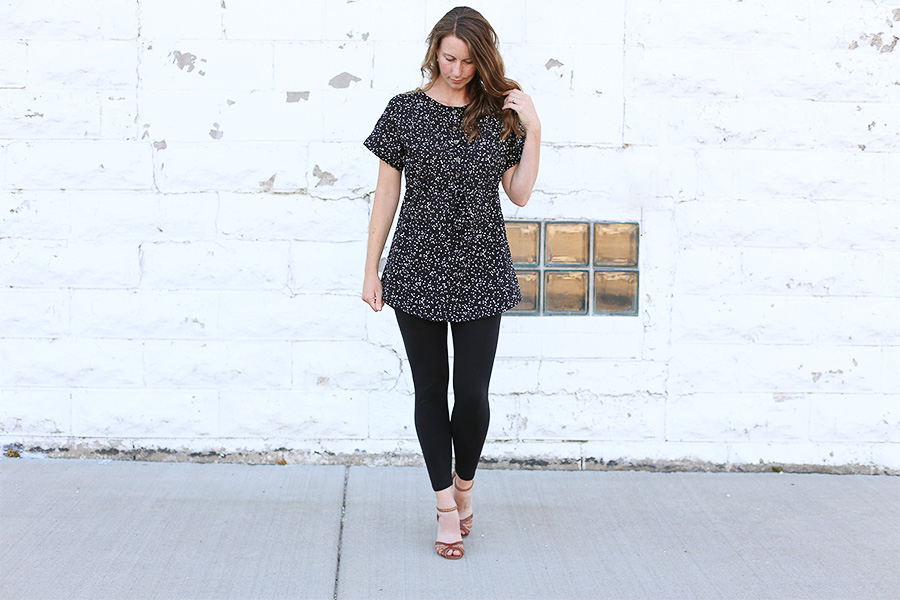
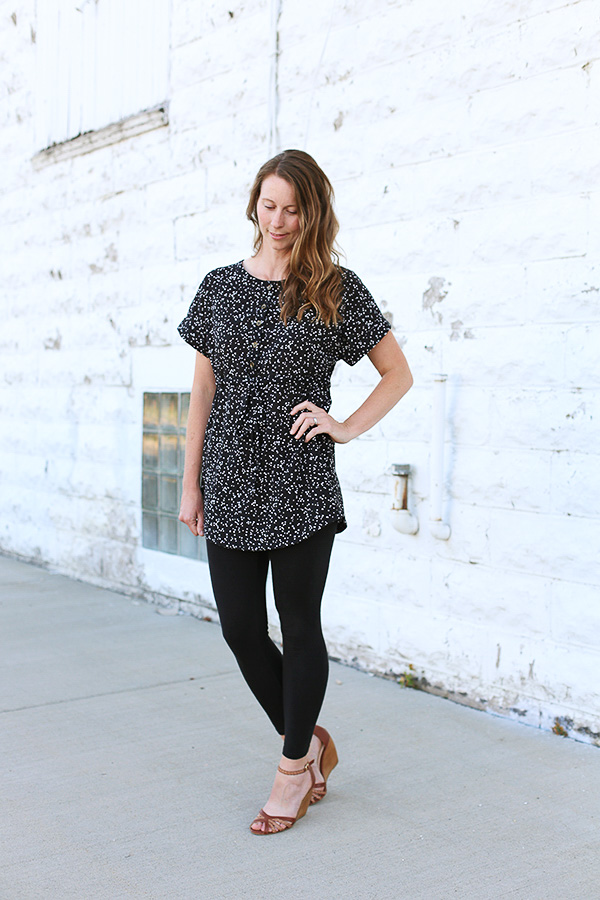
Before we get to the nitty gritty, I figured I might as well show off my finished tunic. I’m really happy with how it turned out. It’s been so hot and humid here, and when I was wearing the tunic, it felt so cool and comfy. I think this particular print kind of hides the pretty details of the tunic, but I still love it anyway. It’s different enough from my coral version that it feels like a totally different top.
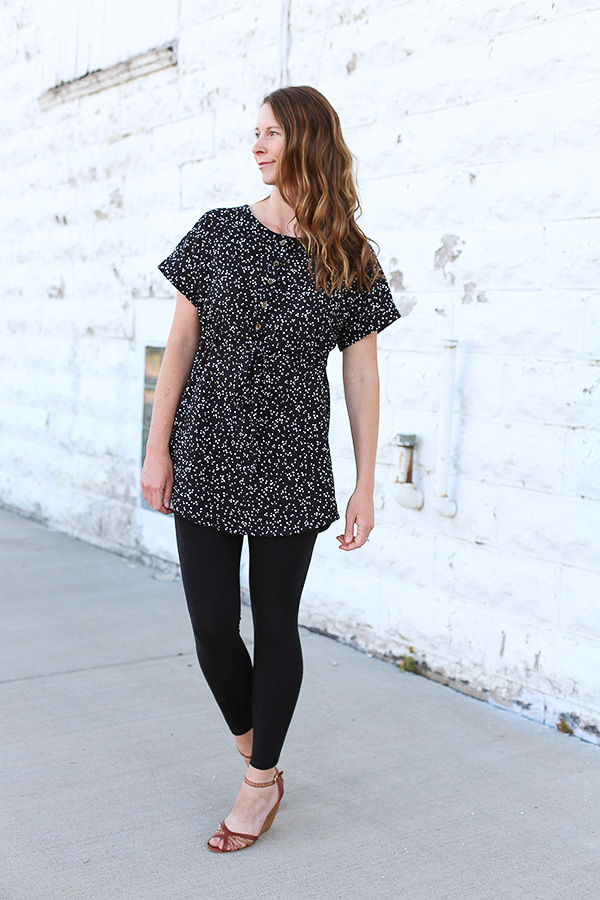
I paired the tunic with some comfy leggings and the most uncomfortable heels. Actually the heels are a really nice shoe, but I’m definitely not used to wearing them. I think they look pretty at least!
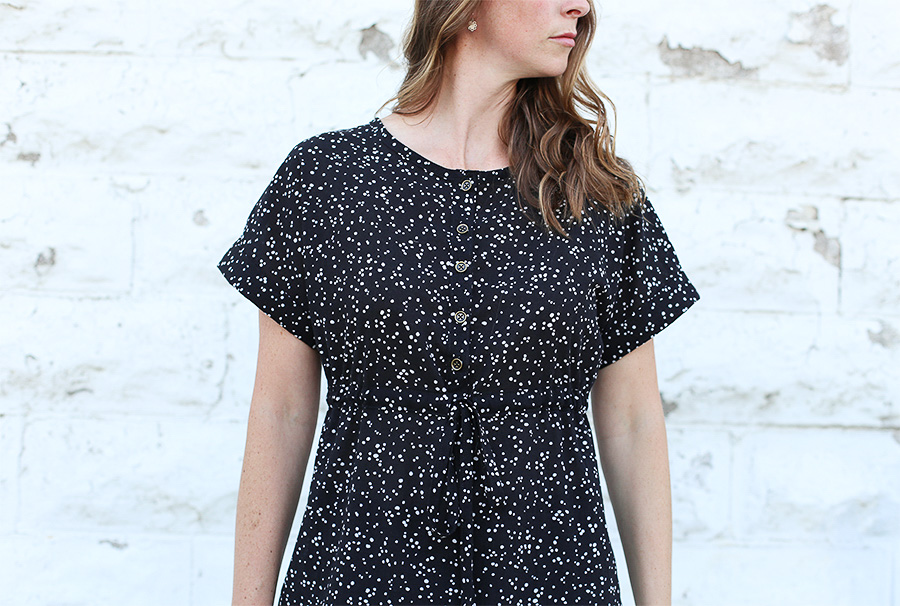
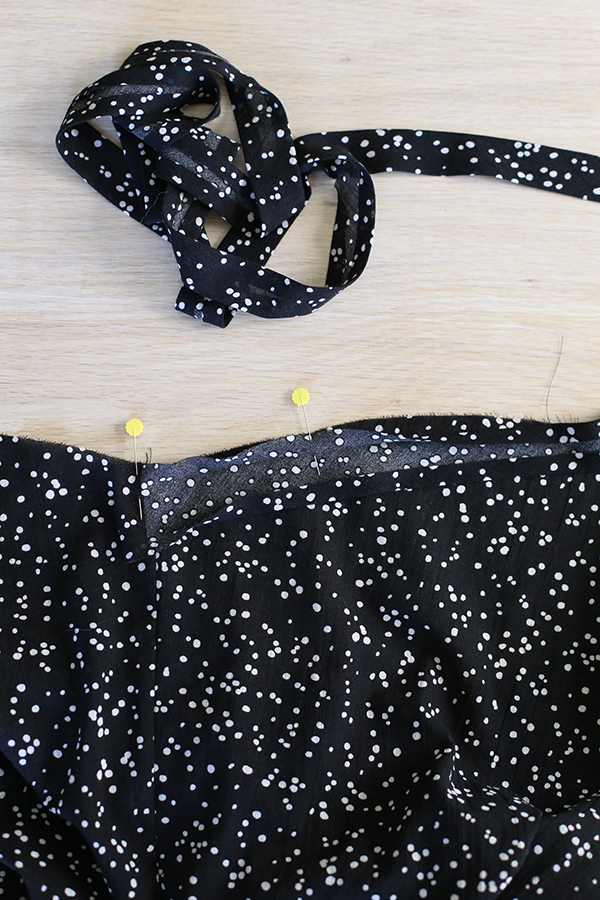
The finish I chose for the hem uses single fold bias tape. I really like this type of hem finish, it feels a little more fancy, plus it could be a fun place to add a little splash of hidden color. However, you could definitely do a traditional double turn hem. The curved hem is my favorite detail, but you could straighten it or make it more gradual, too. It’s up to you.
Start by opening the single fold bias tape you made on Day 1 and fold the short end to the wrong side by 1/2″. Align that folded edge to the side seam of the right side of the tunic’s bottom raw edge.
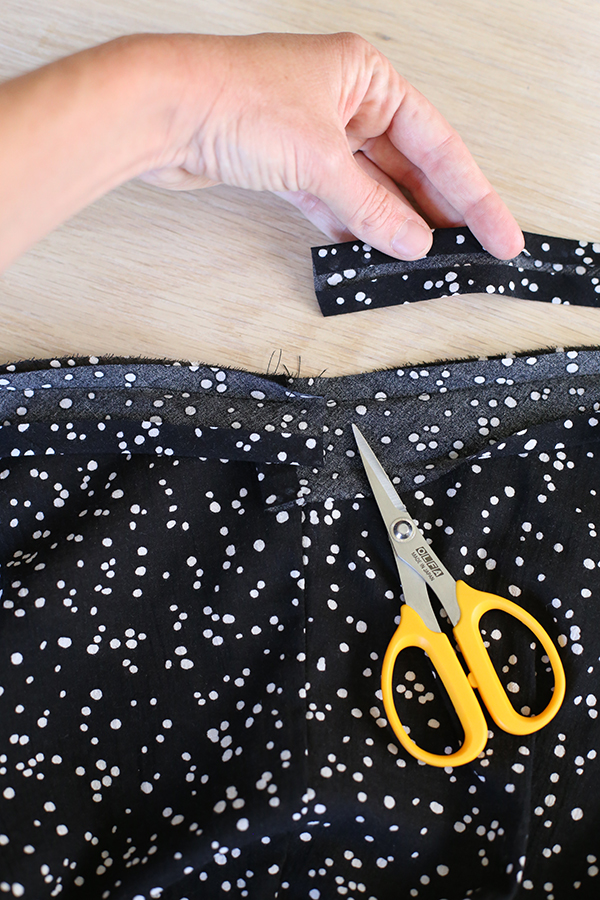
I start by placing a pin at the beginning and start sewing and work my way around the hem until I reach the beginning, overlapping where I started and trimming any excess bias tape. You’ll be sewing along the fold closest to the raw edge of the tunic, the first fold. Use the natural give in the bias tape to conform it to the curves of the hem.
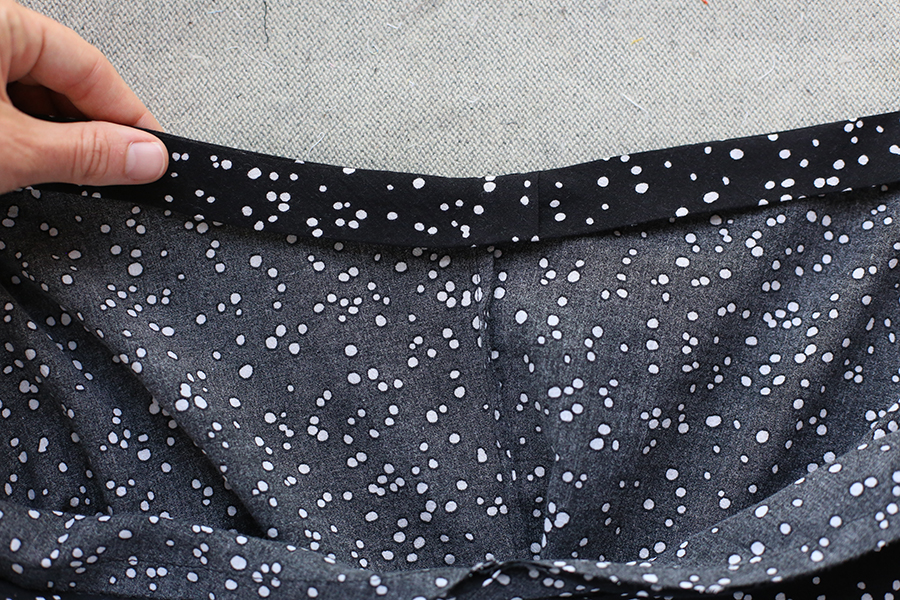
Press the seam allowance away from the tunic then refold the bias tape so it lays wrong sides together with the tunic completely on the inside of the garment. The seam you had just sewn will now be the bottom edge of the tunic. Press the bias tape in place and pin being sure to neatly tuck in the raw edges where the bias tape overlapped. Pin in place.

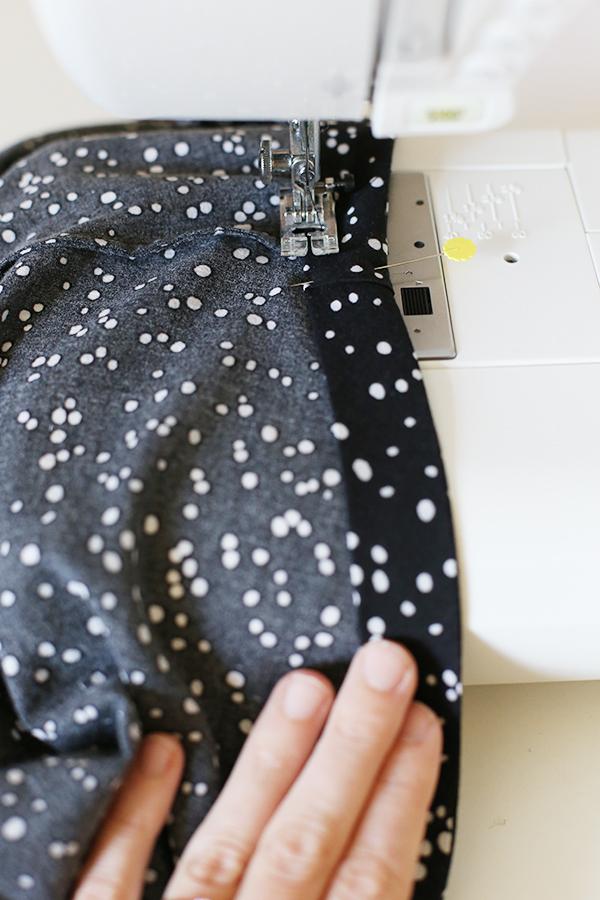
Sew along the inner fold of the bias tape using a slightly longer stitch length. Be careful not to stretch the hem, but to let it gradually feed through your machine.
That’s all! You’re finished! Now it’s time to try it on and start thinking of the different ways you can wear your new tunic!
Sew along notes: I’ll be spreading out the posts to be once a week, which will hopefully be a nice amount of time to get through each step as well as being easy to get caught up in case your schedule is full this summer! And of course feel free to work at your own pace, the posts will be permanent here on my blog, so reference them any time you need. If you have any questions please let me know in the comments below.
Handmade Style Tunic Sew Along – Day 1
Handmade Style Tunic Sew Along – Day 2
Handmade Style Tunic Sew Along – Day 3
Handmade Style Tunic Sew Along – Day 4
If you still need a copy of my book, you can purchase a copy of Handmade Style at your local quilt shop, Joann’s, local bookstore or Amazon. Or, check with your local library, too.
And that’s a wrap! I hope you’ve enjoyed making your tunic.
Yours turned out so cute, and looks super comfy!
aw, thanks Jeni. 🙂
Your tunic turned out so nicely! I own your book (and have made the patchwork bench and the rainbow clutch — LOVE both of them!) and would like to make the tunic too, especially now that you have posted a sew-along! I would like to make the tunic into a below-the-knee dress length. Do you have any suggestions for doing that? Should I add some more flare below the waist to give my legs room to move?
Thanks Lydia. 🙂 For lengthening or shortening you can check out day 2 of the sew along. 🙂
So pretty, Anna! I’ve got to make another. : )
Thanks Laurel! Yes, I love your first one!!
This is super cute Anna and looks adorable on you!:) Love it!!