
Welcome back for day 3 of the sew along, you can catch up on day 1 and day 2 anytime as well. 🙂

Today is a pretty low stress day. We’ll be doing two bigger steps, sewing the waistband and attaching it to the skirt, as well as making the belt loops.
A little word first on the gathering. If you did choose a thicker material you might have a little more difficult time gathering, just take your time pulling and gathering bit by bit. You could also add a third row of gathering stitching. By doing two rows it’s basically a backup if one of your threads breaks, so a third row would make it even more sturdy. Gathering is pretty forgiving, so if you gather it too much you can always loosen it and you can gather it more as well if it’s not gathered enough.
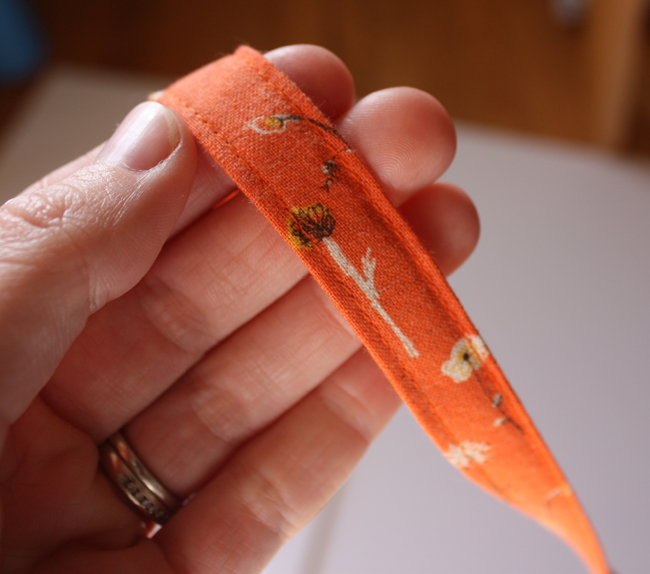
Sewing the belt loops (referred to as the carrier in the pattern):

Basically just like making double fold bias tape. Press wrong sides together in half, open up, press raw edges to center fold, fold in half again and press. Topstitch on both sides.
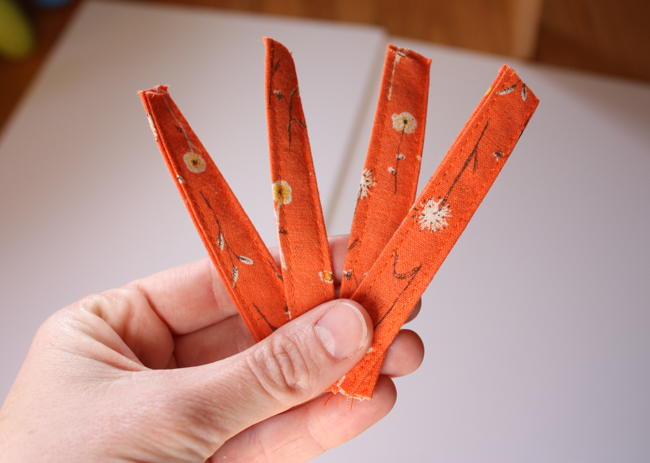
Cut into four equal pieces. That’s it, those are your belt loops. You can also leave these out if you’re not ever planning on wearing the skirt with a belt. I like the little bit of added detail they provide, so I included them.
Sewing the waistband:
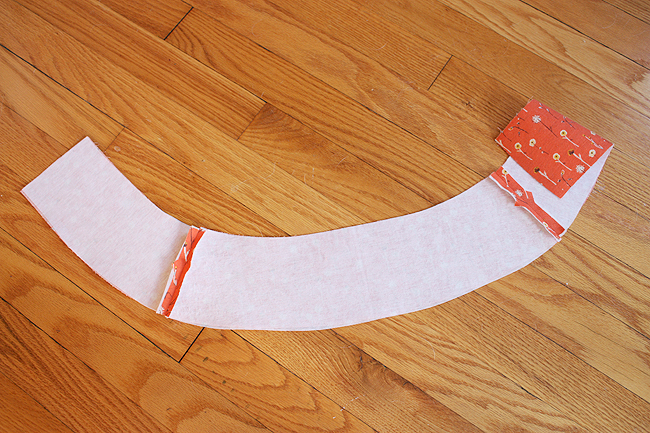
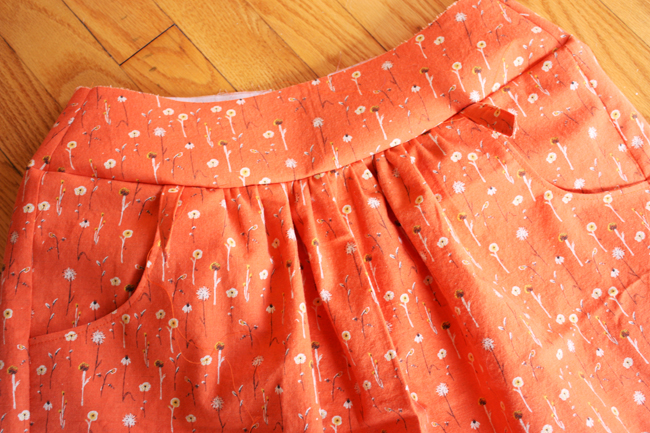
Sew belt loops at bottom curve of waistband at the indicated locations marked by the dots on the pattern pieces.
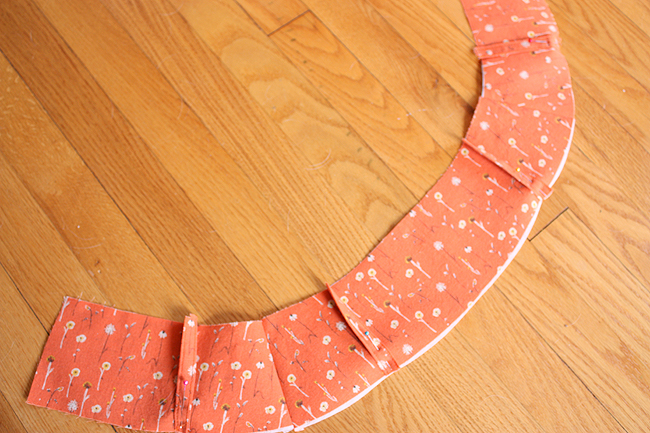
Attach waistband to skirt:
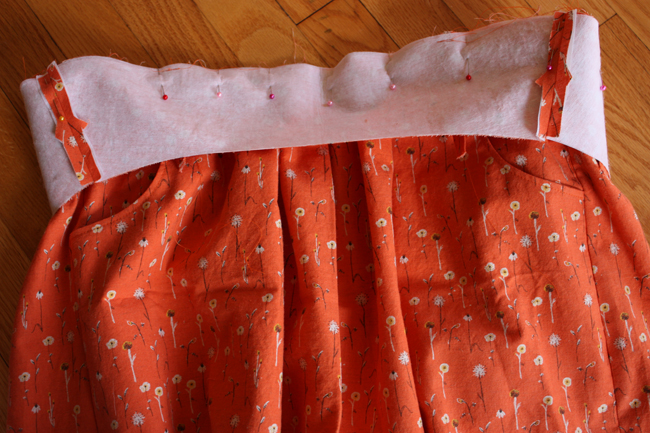
With RIGHT sides facing, pin the waistband to the skirt. You’ll want to pin the bottom curved edge to the skirt top, aligning the raw edges.
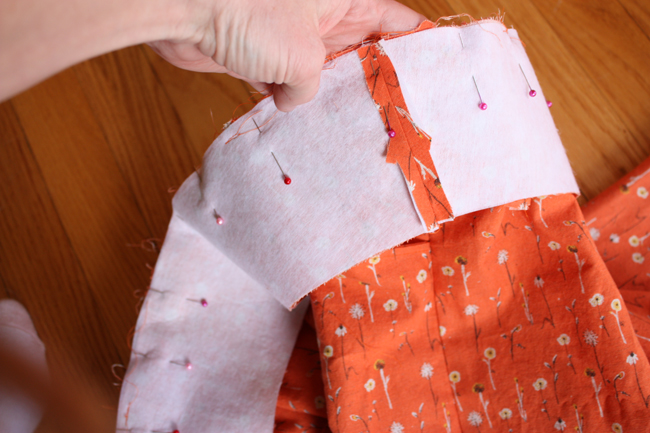
Be sure to match the side seams of the waistband with the side seams of the skirt.
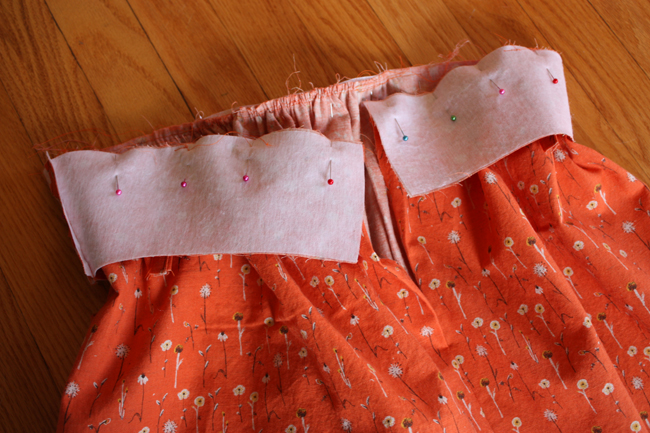
Adjust the gathering so that it fits with the waistband. Pin the remaining waistband in place.
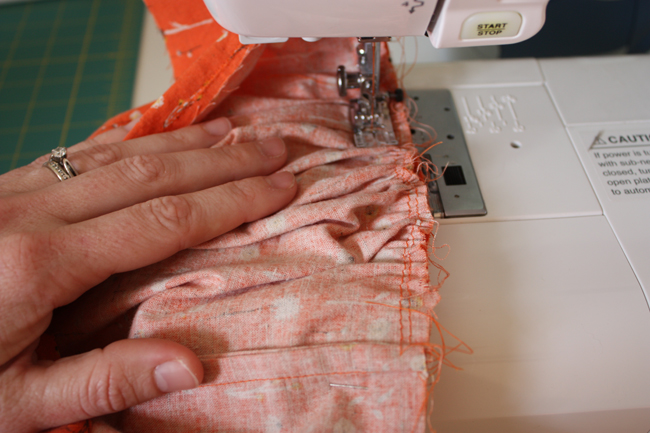
Sew. I usually am pretty careless about sewing gathers, but if you really want things perfect you can use a knitting needle or stick to help hold the gathers in place. More pins help, but a little ‘extra hand’ in the form of a knitting needle might come in handy.
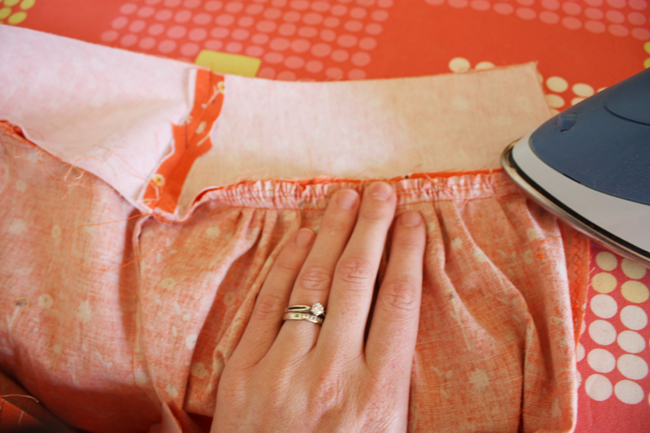
Press seam towards waistband.
That’s all for today. Tomorrow we’ll tackle that zipper, it’s really pretty slick. I quite like how it works, so don’t be worried!! After that it’s pretty smooth sailing…
[I’m going to run this sew along a little differently than my typical blog posts, if you have any questions or comments or suggestions/tips please leave them in the comments section and I’ll respond to them there. Usually I like to reply to comments directly by email when time allows, but this way the info will be there for anyone who joins along.]
It looks so cute!! I have to make one of these — I am so glad this will always be here for when I’m ready! 🙂
I just got all caught up! This is so exciting. It is my first Simplicity pattern, and I have been scared of these things for so long. It has been smooth dialing so far! I did version C, although I can barely tell the difference between C and D. I took your advice and did a practice waistband. So helpful! I think it is going to fit in the end, but we’ll see. Thanks for the Sew Along!
That should say smooth sailing…. Dang autocorrect!
I am still one step behind, but I am catching up. Thanks for your clear and helpful visual guidance through this pattern!
Anyone looking for the pattern they are on sale at Hobby Lobby this week for $1.99….. just got mine and am ready to get started!
The skirts look great! A little tip on gathering … sew a row of gathering either side of the intended stitching line, instead of both in the seam allowance. Then gather up and stitch between them. After you stitch you can easily pull out the row that is in the garment – hey presto! – no puckers, folds or uneven bits. If you see little pinholes from the stitches they will come out first wash.
I just finished my practice fabric skirt. Now, I’m ready to move on to the corduroy. Did anyone else start a corduroy skirt? Did it gather okay?
thanks,
kristie
Hi Anna,
What seam allowance did you use for the yoke pieces? It looks less than 5/8″, like 3/8″? but I just wanted to make sure. Thanks again for the SAL even though I am totally behind…
Hi, just found this helpful blog as my daughter tackles this sewing project! I have a question: why does the pattern instruct to baste, then stitch when attaching the yoke to the skirt? I think you just directly stitched it on. Could it be serger together instead?